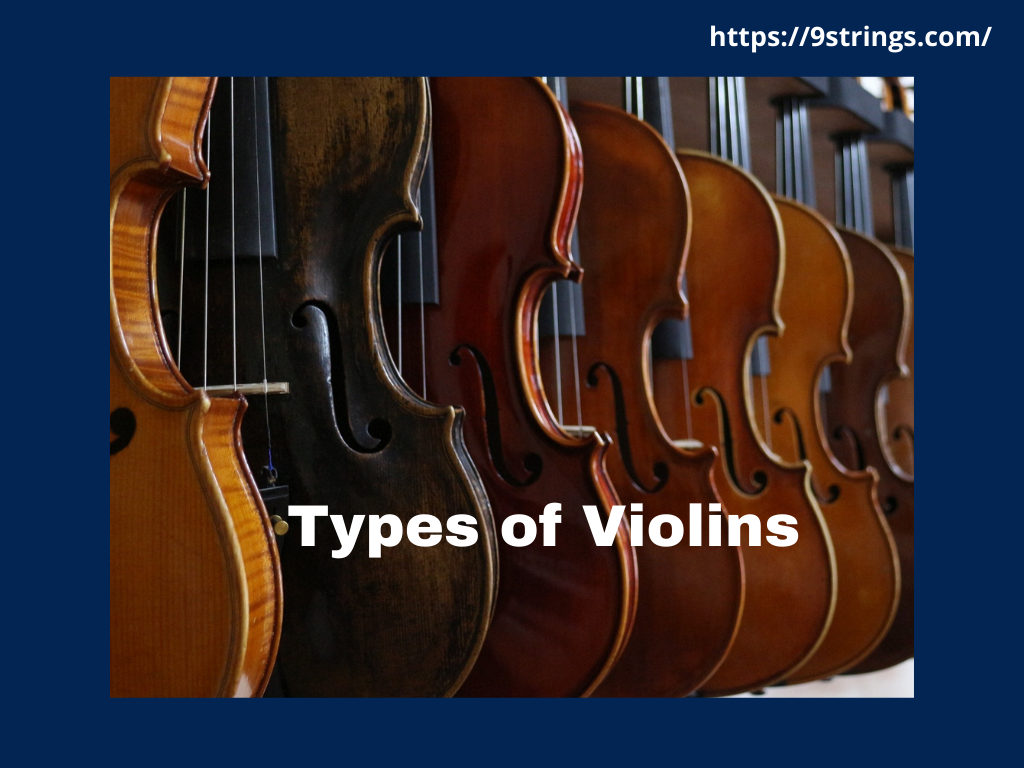
The violin known for its powerful and extraordinary sound is always a source of emotions and inspiration for anyone that hears its music. The key to playing the violin beautifully is of course a lot of practice and dedication towards it. But to make any sort of sound between the bow and strings of the violin it needs a small amount of friction and thus the key to playing music with violin significantly depends on the rosin we use on the bow.
What is rosin
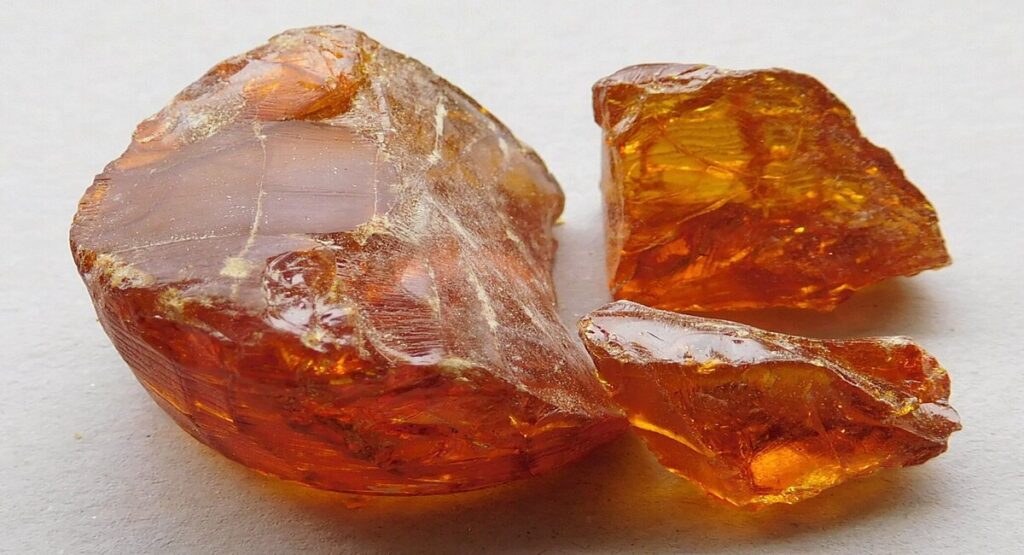
Rosin is tree sap or a tree resin extracted from trees like pines, larch, or mostly conifers. By adding some noble additives and with some more preparations finally, the amber-colored rosin is formed. The rosin is said to be a bugbear of every clumsy string player since it tends to break apart like shatter glass when dropped on the floor accidentally. This glassy, orange, and pine-like smell resin are necessary to create the friction needed to play the violin or any fretted string instrument.
When is the time to rosin your bow
Most of the violinists rosin a bow before each time of play which can be thought of after every 2-3 hours of playing. The time to rosin a bow is somewhat dependent on the violinist using the bow. If the violinist feels that his/her bow is not having sufficient friction between the bows and strings, the violinist can apply some rosin to the bow. But to anyone new and just getting started with violin, applying rosin after every four to six hours or twice per week would suffice. Always keep in mind to ask the buyer when you purchase your violin if it was pre-rosined or not. If it was pre-rosined, you can play your violin a couple of times before applying rosin again.
What type of rosin is the right one for your instrument
Rosin comes in a range of colors and varieties. Each type of rosin has its own impact on the instrument applied. For example, darker rosin is better for larger strings hence larger string instruments because it is heavier, softer, and stickier. For violin, darker rosin is not a good choice. Conventionally lighter color rosin is best suited for violin and violas which are uniquely lighter in density, harder, and less sticky.
The right amount of rosin to apply
The best way of knowing how much rosin is needed for your violin is to experiment with different amounts of rosin yourself. Try to learn and figure out how different amounts of rosin affect the sound of your playing. With no rosin, there is hardly any sound coming out from your violin. As a result, you need to press much harder and use more strength to make any sound at all. With too much rosin, the sound tends to be more like noise, scratchier and harsher. Moreover, the bow feels stickier and again you will need much strength to play your violin. Excess rosin may also easily damage the bow hair and re-hairs are really expensive.
So the trick for applying rosin is not too much or not too little. When you have the right amount of rosin you will find out that the bow moves smoothly across the strings creating the perfect sound. With a bit of practice and experimenting with the rosin, you will be familiar with the right amount in no time. Before you realize it, applying rosin will be nothing to worry about.
Time to rosin your bow
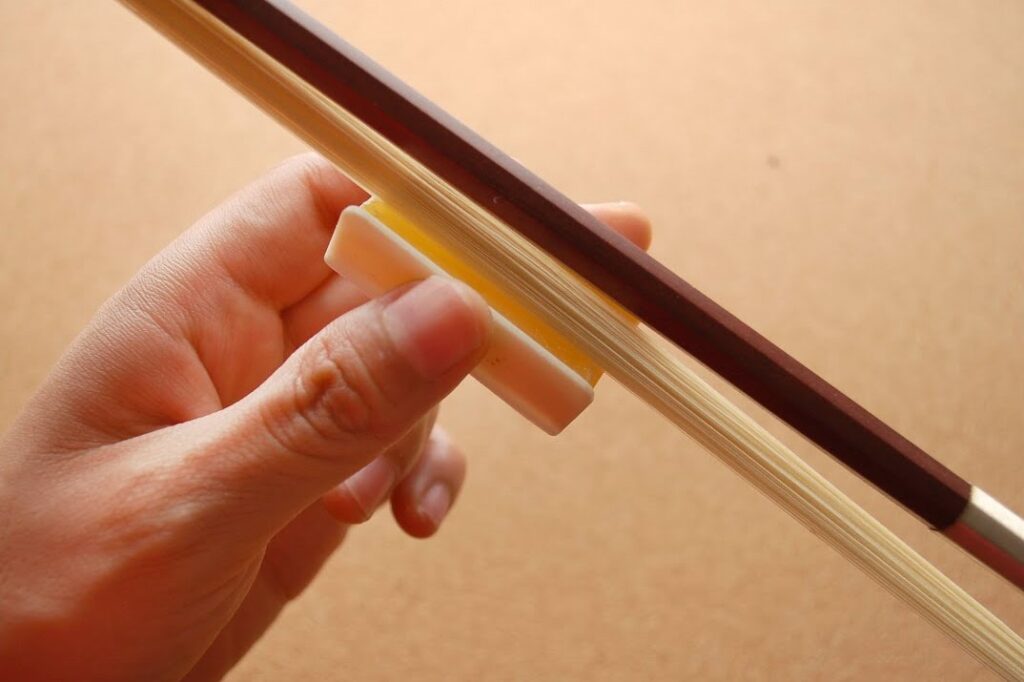
- Before you apply rosin make sure you clean your hand properly. Never touch the horsehair of your bow. The horsehair gets damaged from the oil-secreting from your hand.
2. If your rosin cake is brand new, you have to score the surface of it before applying rosin. If you do not score the surface of it, applying the rosin cake will take longer on the bow than anticipated. Gently scratch the surface with a plastic fork or knife until the surface is dulled or scored. When you see the shiny and smooth surface of the rosin cake is dulled, you will know that the rosin cake is ready to be applied to your bow.
3. Tighten your bow before applying any rosin. Don’t be afraid to tighten the bow a little more than usual. Slack hairs will not accept rosin evenly. Moreover applying rosin on a loose bow may damage the hair.
4. Start to apply rosin from the base of the bow. Apply slowly and calmly spread over hair back and forth. Spend a few seconds on each area of the bow to get an evenly throughout. You have to apply the rosin slowly because applying too quickly may generate heat because of the friction which in turn can solidify the rosin.
5. Rotate the rosin cake while adhering to the bow to spread it evenly. Grooves may appear on your rosin cake if you spread the rosin linearly and make it difficult to rosin the hair evenly throughout. Moreover, groove tracks tend to break the rosin before the rosin is used entirely.
6. Rosin dust is known to accumulate quickly on your instrument damaging the varnish and changing the sound of the instrument. So, always remember to dust off excess rosin with a soft lint-free cloth after you are done playing.
How can you tell when applying rosin is done
You can tell when you have rosined your bow perfectly by the following two ways
Acoustically: Play your violin. Nothing is more efficient to know if you have rosin your violin properly other than hearing with your own ears. If the bow does not play smoothly, a faint sound or no sound at all is produced then you will understand that the bow hair is rosined too little than required. However, if the sound is scratchy and harsh then it will imply that you have applied too much rosin.
Optically: Inspect the bow hair thoroughly. Try to scrape across the bow hair with a thumbnail. If it sticks to the thumbnail, you have applied rosin more than required.
A little amount of rosin works like a wonder for your violin. You need to learn the right way to rosin your bow before you start playing. The key to making a perfect and beautiful sound of the violin always lies in such small but essential details. Clearly adhering rosin to a bow is significantly one of the most important details among them.